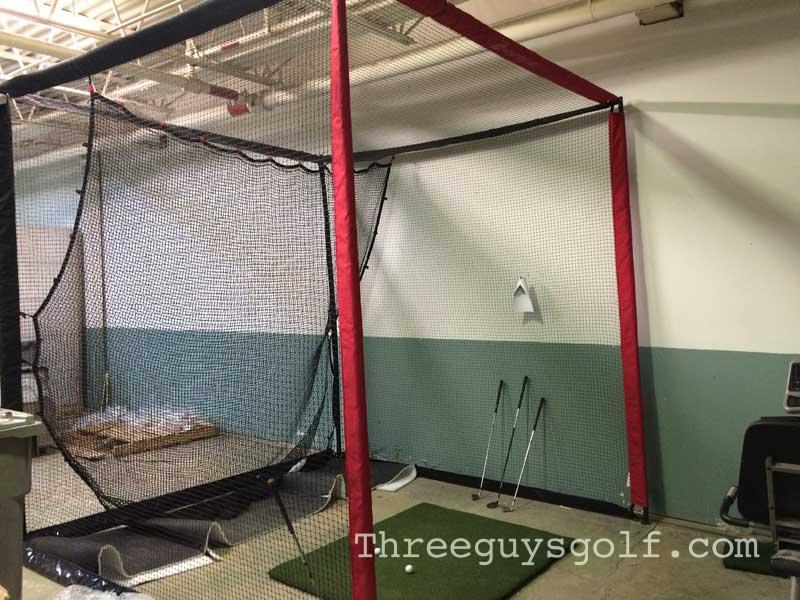
This is crazy, but the newest addition to my workplace is the Monster Cage made by Rukket Sports. Yes, a giant golf ball hitting cage. My back is really bummed about it.
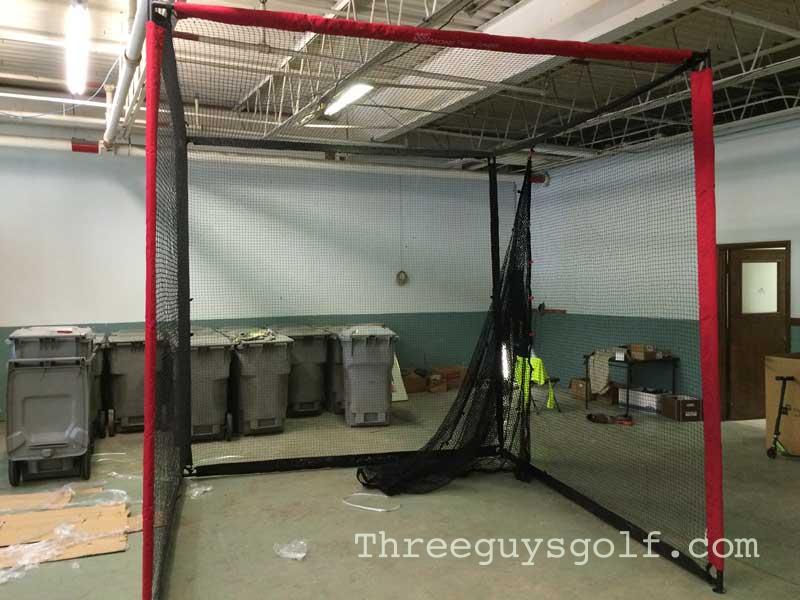
Depressing workplace not included
When reviewing a product like the Rukket Monster Cage, I figure there are two items to address: 1) how is it as a cage – design, build, durability, etc.?, and 2) why the hell would anyone want/benefit from a giant pill-smashing cage and exactly who are these people? Let’s go in order:
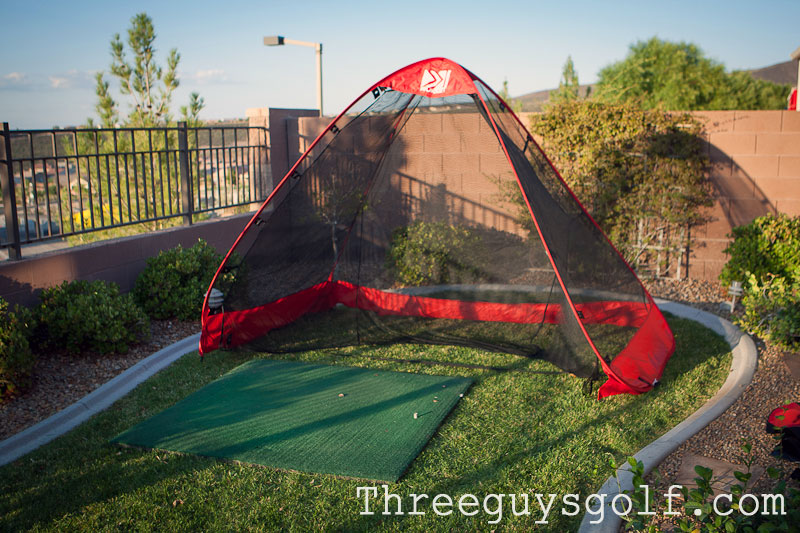
The Rukket Monster Cage is a full-scale, heavy duty, industrial strength hitting cage. I know we’ve all seen the different backyard driving nets, the portable ones, the ones that look like half-shells (Rukket even makes a version of this model) . . . this is not one of those nets. This is essentially what your local golf store has for its hitting bay, minus the $100k simulator. When I hear about Steve Stricker hammering balls inside a cabin in the Great White North, I picture a cage like this. It would have to be a big cabin, mind you, because the Rukket Monster Cage goes 10′ x 10′ x 10′.
ASSEMBLY/CONSTRUCTION
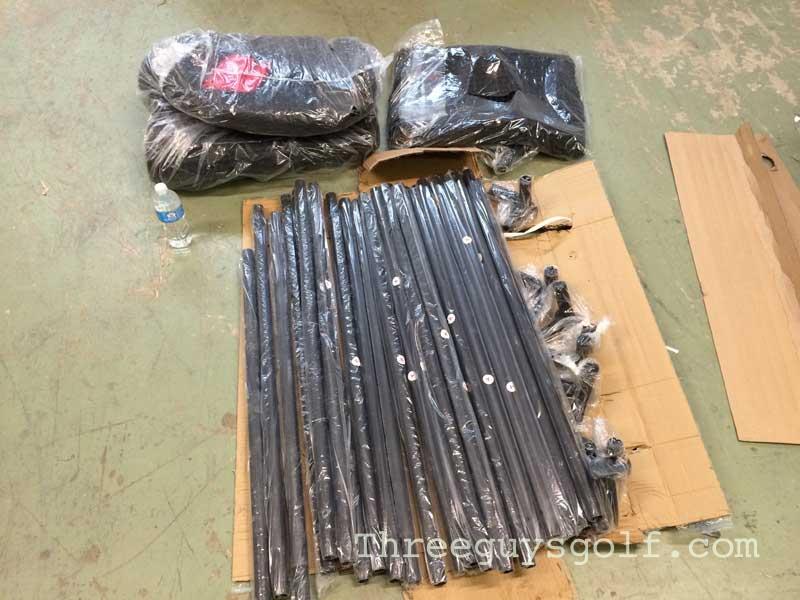
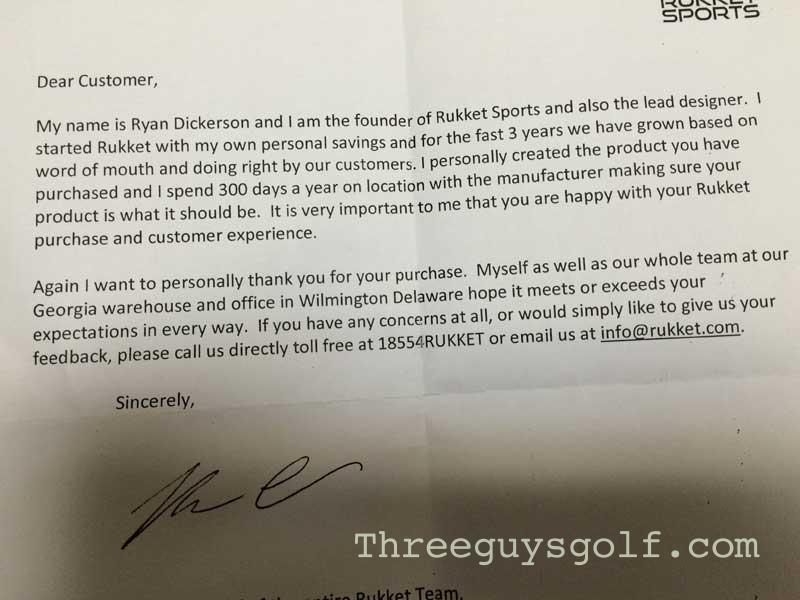
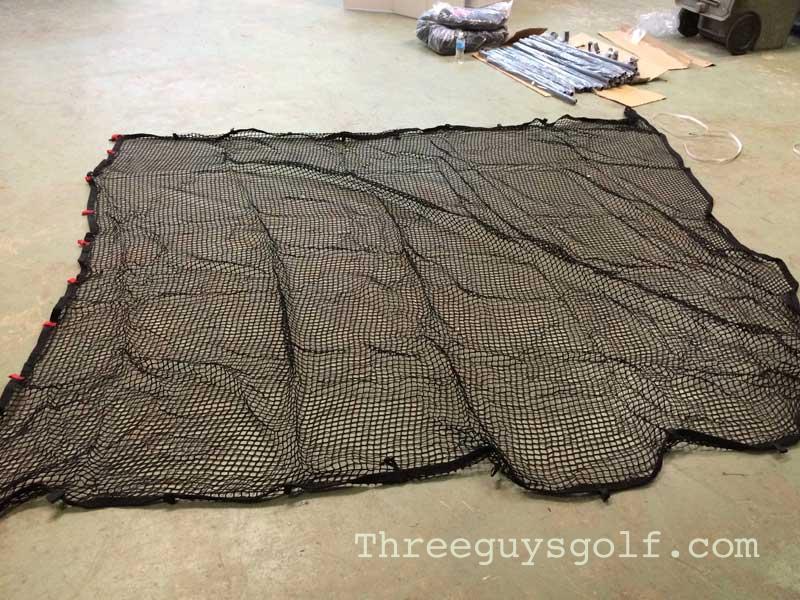
The Monster Cage arrives at your door in two medium/large boxes – one heavy, one moderate. Inside the heavy box you will find a pile of small push button metal poles, industrial versions of what goes into the pop-up canopy you used for your niece’s graduation party. In the lighter box, you’ll see a big wad of folded up, heavy duty netting. And somewhere in all of that you will find the following letter:
Cool enough, it’s nice to know that the company selling you a product actually cares to throw that in. What they don’t include, however, is an instruction manual on how to put this sucker together. Never one to shy away from looking like an idiot, I tweeted Rukket Sports and asked if perhaps I was missing something – indeed I was – there is no manual, but a video on their website that demonstrates the assembly process:
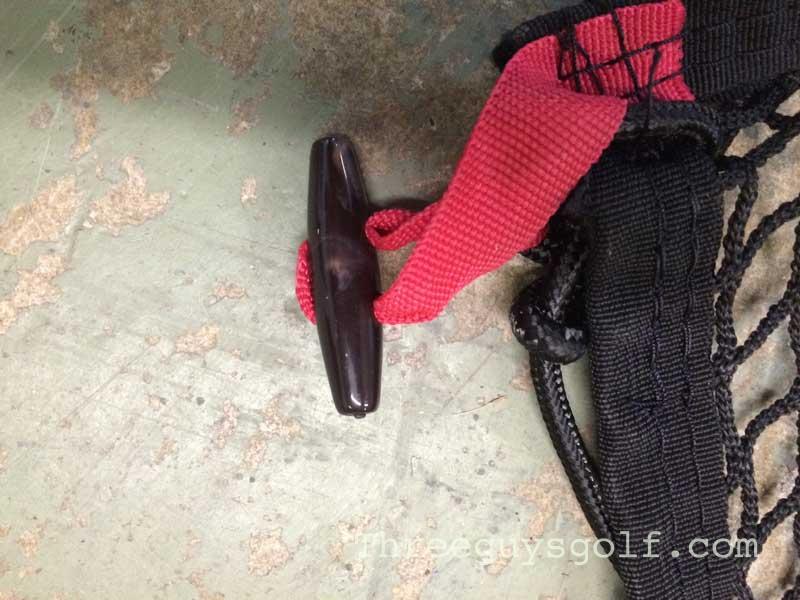
The video is straightforward and well done, and the assembly itself really is relatively easy given the magnitude of the beast you are creating. The push button poles work like a charm, and the net itself uses little wooden knobs and Velcro straps that are very intuitive and create zero net/Christmas lights/ball-of-mess frustration.
The video says assembly is a two-person job and should take about 20 minutes. Like a typical meathead, I went with a one-person approach and probably took about 45 minutes, having to call in reinforcements for the final stages of barnraising. There was one initial mistake I made regarding where the “front” of the cage was, something I wish the video had made sure to clarify, but all in all the assembly was super straightforward and caused very few spikes in blood pressure. For your reference, I once threw a motorized baby swing off my back porch mid-construction, so my smooth session with the Monster Cage is a testament to its quality design.
The construction of the Monster Cage is all about sturdiness and durability, for both indoor and outdoor use. The frame itself is made from 3 part steel tube construction with nickel-plated fasteners, powder-coating for weather resistance, and a little PVC and canvas thrown in to help drive home the message that this bugger can handle some adverse conditions. I detect no weaknesses in the cage – there isn’t one piece that I’m looking at and saying “that thing’s gonna croak by next Spring”. And for such a gangly piece of equipment, there is very little play if you were to go up and push on one of the posts . . . the cage might lean an inch or two, but that would be impossible to avoid without introducing some serious bolts and such into the assembly process.
PERFORMANCE
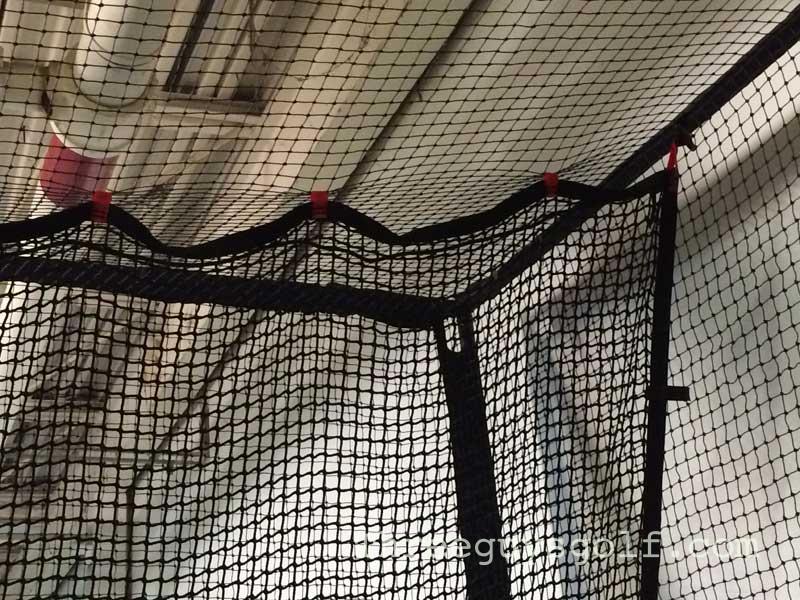
This one is easy – it’s a giant cage with a net that I can rip balls into with absolutely zero fear of something going awry. No shank, skull, or block can thwart the Monster Cage. As you can see in the pictures, the entire cage is made up of netting, and then you have a heavy duty “inside net” from the top to handle the serious business. The inside net is substantial and has no problem absorbing my Dalyesque drives. And, heaven forbid I honk one straight left, the ball is safely eaten up by the outside net.
When rigging the inside net up you have two choices: 1) ball return configuration, which means the top of the net is hitched further towards the front of the cage, and 2) standard hang, allowing for more space between the golfer and the net. I’ve tried both, and switching between the two is easy (only takes 5 minutes but requires a step ladder), but I’ve always defaulted to the ball return setting because it helps me maintain my pace of 34 swings per minute. I can see where the standard setting would be valuable for the more claustrophobic among us, though, and you also have just a bit more room to see where your ball is headed.
The bottom line on performance – I haven’t thought about this net since the minute I finished putting it together. It is clearly capable of handling Vijay Singh levels of punishment, and there has never been even one glitch in the program that made me wonder if I should take out a general liability policy or tell my buddies to put a helmet on. Ball hits net, ball drops down, meathead hits ball.
YEAH BUT . . . WHY?
It’s long been thought that hitting cages/nets are inferior to actually hitting balls into the open air. On a general level, of course that’s true. But when it comes to practice, I have come to realize that the net is an incredibly valuable tool, and probably my best tool. Here’s why:
1) I love hitting balls on the range. I love it so much that I have been known to wander into the range itself at friendly (and empty) courses and hit every frigging ball in sight until it gets dark. I am in the double digits with that activity alone. But on most occasions, I am limited to one or two buckets with which to do my thing. This places a subtle premium on each swing – I only have 35 balls to hit, and as much as I want to work on what that pro told me two weeks ago, I can’t leave this joint with 35 shanks under my belt. So, after 20 mushballs that felt like ayzz, I start to revert back to my normal flawed swing that at least makes solid contact.
Ego also plays a role in this. At some point I need that girl next to me to know that I am not the world’s biggest mark, getting taken for over $1,000 in equipment while wielding a Spaulding stroke . . . maybe they should issue a special hat to anyone that has taken a lesson in the last few weeks, kind of like a “Student Driver” sign for your head.
But ultimately, as a middle-aged dude with not enough time to play 18, I go to the range to “hit some balls!”. Hitting balls is fun, and trying to implement changes to your swing will sometimes interfere with that fun. With the Rukket Monster Cage, I quickly realized that I was in the perfect swing-practice environment. Say you’re trying something that feels SO goofy, like most lessons will have you doing . . . no worries in the cage. Just keep trying it. Your supply of balls is infinite, nobody’s watching, and you can work on it to your heart’s delight.
It’s a perfect setting for experimentation, which I have found to be extremely helpful in applying what I learned at a recent lesson. As you know, most golf instructors are going to look at your swing and see the same flaws, but then explain how to fix them to you in 1,000 different ways. They are all teaching the same basic swing, it’s just a matter of which concept your brain can digest and apply. Is it “turn back like you’re shaking hands” or “turn and face the wall behind you”, or is it “clear the hips” or “bump the lower body”. With the cage, you have the time and resources to work these things through and arrive at the swing thoughts/moves that work for you. In other words, you can “waste” as many shots as you’d like in the name of experimentation.
2) To a reasonable degree, you DO know where the ball is going. I know that’s a famous argument against hitting into a net, and I know there is such a thing as smashing a drive all nice-like and then looking up only to see it going banana on you. But for the most part, you can tell when you hit one correctly, swing correctly, push/pull, etc., especially because you already know what your bad tendencies are. Sprinkle a little “where did it hit the net” over that knowledge, and you’ve got about 85% of the data you need (highly scientific calculation). And yes, every week or so, hit the range and make sure it all translates to the real world. Put it this way – I’ve had the Monster Cage for a little over two months now, and each time I’ve hit the range or played 18, it all translated.
THE TAKEAWAY
If you love the game and have a large garage, a backyard that can handle the look of an athletic cage, or a depressing warehouse space like me, the Rukket Monster Cage is only a good thing. A great thing, actually. The price tag is $600, so it’s not cheap, but like most things in golf it is well worth it when amortized over the amount of use you will get out of the Monster Cage. In fact, my experience has been so positive that I would call the cost a no-brainer . . . my practice time in the Monster Cage has been more efficient and productive than any range sessions I have ever had. And I don’t even have a launch monitor yet, so this could get even better.
The Monster Cage can be used for other sports too (baseball, lacrosse, soccer, whatever you want to hammer into a net), so if you have kids that can get some use out of it then the purchase is even more justifiable.
SIDE NOTES
-As I mentioned up top, my back briefly paid the price for my newfound practice glory. After absolutely spazzing out for the first two weeks, I realized that a more disciplined approach to warming up and practicing was imperative. In fact, I need to give some credit to the Pros who rap balls every day, the mileage on the back adds up quick (*pouring one for my PGA homies*).
-Plan on spending a couple hundge on a good mat. Cheap ones do a poor job of mimicking real turf conditions, and more importantly, they don’t have enough shock absorption built in and will eventually do a number on your body as you continually slam that club down.
-Two items I would note regarding the assembly video: 1) when starting out, make sure to check the logo on the top front pole and confirm that it is facing out, this will ensure that you have everything headed in the right direction (I didn’t at first). 2) The owner suggests putting the whole unit together at half-height so that you can rig the net without using a stepladder. Makes sense in theory, but in hindsight I would much rather have constructed the whole thing first and then used a stepladder at the end to hang the net. Trying to add the final poles once the cage was built to half-height proved to be more trouble than hanging the net at 10′ would have been.
Three Guys Exclusive! Use the following code and get 10% off your next purchase:
Check out all of the Rukket Sports products at www.rukket.com.


